To install the Arctic Freezer 34 Esports Duo, mount the backplate and secure the cooler with screws. Attach the fans and connect to the motherboard.
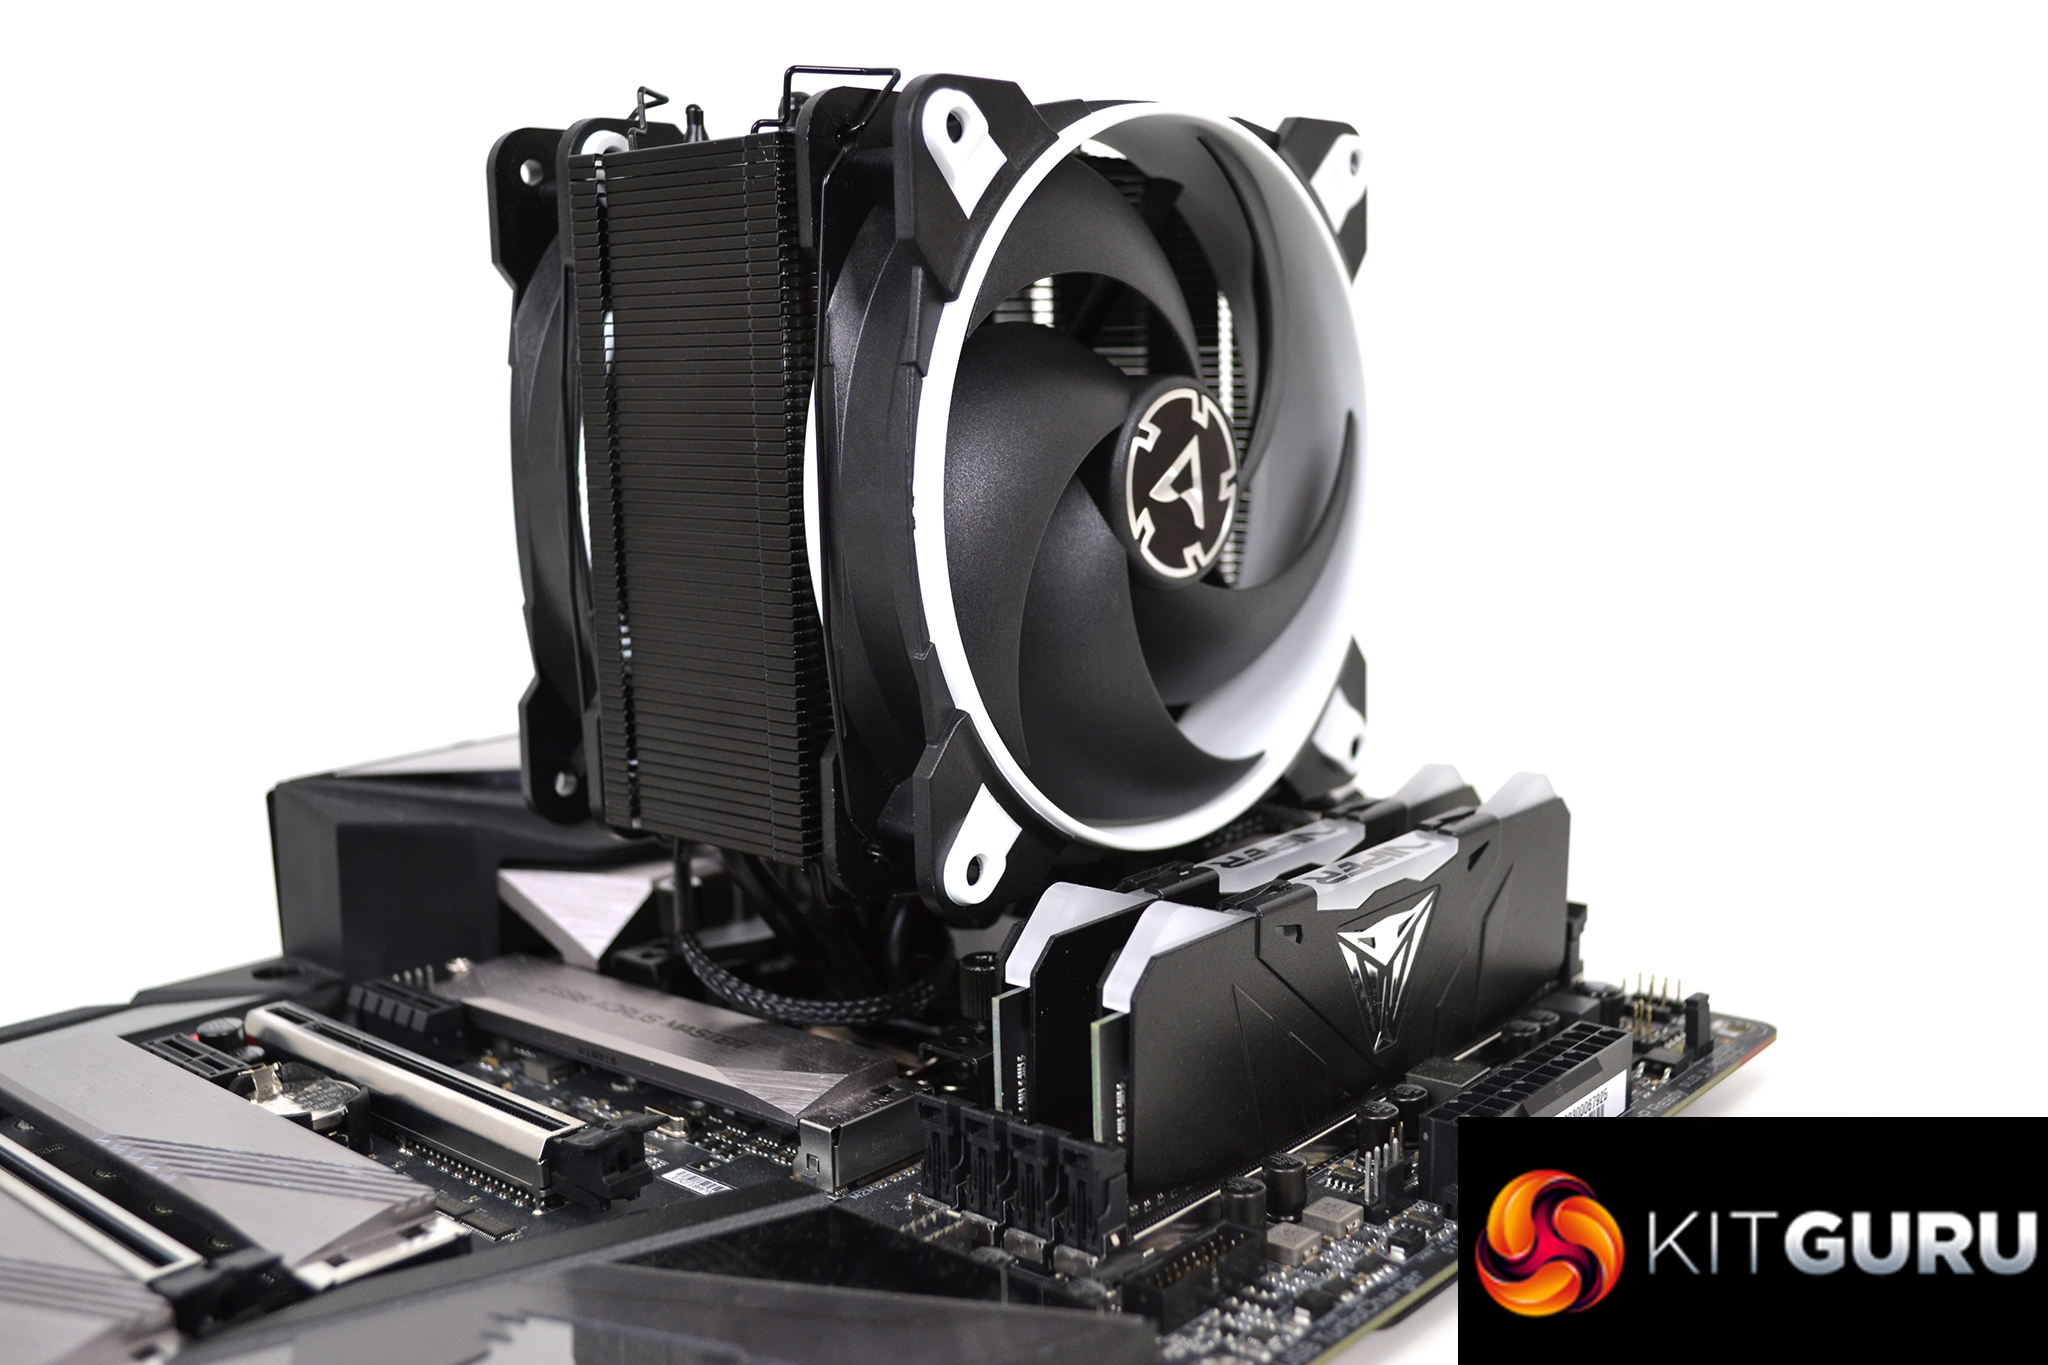
The Arctic Freezer 34 Esports Duo is a popular air cooler known for its excellent performance and sleek design. It features dual fans that provide optimal airflow, ensuring efficient heat dissipation. This cooler supports a variety of CPU sockets, making it versatile and widely compatible.
Its installation process is straightforward, requiring basic tools and minimal time. The pre-applied MX-4 thermal paste ensures optimal thermal conductivity. Users appreciate its quiet operation and effective cooling, making it a top choice for gamers and PC enthusiasts. Investing in this cooler can significantly enhance your system’s performance and longevity.
Credit: www.kitguru.net
Unboxing
Unboxing the Arctic Freezer 34 Esports Duo reveals a sleek, efficient design ideal for gamers. Installation is straightforward with clear instructions.
What’s In The Box?
The Arctic Freezer 34 Esports Duo box contains several components. You will find the cooler unit itself. Two BioniX P-fans are also included. A mounting kit for different CPU sockets is provided. There is a tube of MX-4 thermal paste. An installation guide helps with the process.
Inspecting Components
Ensure all components are present. Check the cooler unit for any damage. Inspect the fans for any cracks or defects. Verify the mounting kit has all necessary screws and brackets. Confirm the thermal paste is not dried out. Lastly, read the installation guide to familiarize yourself with the process.
Preparing Your System
A Phillips screwdriver is essential. Have thermal paste ready. A small flathead screwdriver might help. Use an anti-static wrist strap for safety. Gather all tools before you start. Keep them close for easy access.
Always turn off your computer. Unplug it from the power source. Use an anti-static wrist strap. This prevents static discharge. Handle components by their edges. Avoid touching circuit parts. Work in a clean, static-free area. Ensure good lighting for clear visibility.
Removing Old Cooler
Start by removing the old cooler to prepare for the Arctic Freezer 34 Esports Duo installation. Ensure all connections are carefully disconnected.
Disconnecting Power
Turn off your computer. Unplug the power cable from the back. Make sure the power supply is off. Disconnect all cables connected to the old cooler. These cables may include fan and RGB connectors. Handle with care to avoid damaging pins.
Detaching The Old Cooler
Loosen the screws holding the old cooler. Do this in a criss-cross pattern. Carefully lift the cooler off the CPU. Clean any old thermal paste from the CPU. Use a soft cloth or isopropyl alcohol for cleaning. Make sure the CPU surface is clean and dry.
Mounting The Brackets
Select the correct brackets for your motherboard. Check the manual for compatibility. Intel and AMD use different brackets. Look for labels on the brackets. This helps avoid mistakes. Organize the parts before starting. Keep screws and small parts safe.
Place the brackets on the motherboard. Align the holes properly. Use the provided screws. Tighten them with a screwdriver. Ensure they are secure but not too tight. This prevents damage. Double-check the alignment. The cooler will fit perfectly.
Applying Thermal Paste
Use a small amount of thermal paste. A pea-sized dot works best. Too much paste can cause problems. Spread it evenly for the best results.
Use a plastic card or your finger to spread the paste. A thin layer is enough. Make sure it covers the whole surface. This helps the cooler work better.
Credit: support.arctic.de
Installing The Cooler
Place the cooler on the CPU. Make sure the holes line up. The cooler should sit flat on the CPU. Check if it is not tilted. This helps in better cooling.
Use the screws provided in the package. Insert them into the holes. Tighten them evenly. Do not over-tighten them. This can damage the cooler or CPU. Make sure all screws are secure. Your cooler is now installed.
Connecting The Fans
Locate the fan headers on your motherboard. They are usually labeled “CPU_FAN” or “SYS_FAN”. Connect the fan cables to these headers. Ensure the pins align correctly. The fans will not work if misaligned. Secure the cables to avoid tangling. Proper cable management is essential.
Ensure fans are set to push air out of the case. Install the fans to ensure optimal airflow. Check fan speed settings in the BIOS for better performance. Regularly clean the fans to maintain efficiency. Use high-quality thermal paste for better heat transfer.
Testing And Troubleshooting
First, power on your PC. Next, open your preferred temperature monitoring software. Look at the CPU temperatures. Make sure they are within safe ranges. Idle temperatures should be between 30-40°C. Under load, temperatures should stay below 80°C. If temperatures are too high, check the cooler installation.
If the cooler is not working, check the fan connections. Ensure fans are connected to the correct headers. Verify the thermal paste is properly applied. Too much or too little can cause issues. Make sure the cooler is securely mounted. Loose mounts can lead to poor cooling performance.
Maintenance Tips
Cleaning your cooler is very important. Dust can block the airflow. This can make your cooler less effective. Use a soft brush to clean the fans. A can of compressed air works well too. Make sure to clean the cooler every few months. This helps keep it working well.
Keep your cooler in a cool place. High temperatures can harm its performance. Check the thermal paste regularly. Replace it if needed. Make sure all screws are tight. Loose screws can make the cooler less effective. Use good quality thermal paste. It helps with better heat transfer.

Credit: www.arctic.de
Frequently Asked Questions
How Do I Install The Arctic Freezer 34 Esports Duo?
To install the Arctic Freezer 34 Esports Duo, start by securing the backplate. Next, mount the cooler onto the CPU. Finally, attach the fans and connect them to the motherboard.
Is Arctic Freezer 34 Esports Duo Compatible With My Cpu?
The Arctic Freezer 34 Esports Duo is compatible with most AMD and Intel CPUs. Check the manufacturer’s website for a detailed compatibility list.
Can I Install Arctic Freezer 34 Esports Duo Myself?
Yes, you can install the Arctic Freezer 34 Esports Duo yourself. Follow the step-by-step instructions in the manual for a smooth installation.
What Tools Do I Need For Installation?
You’ll need a Phillips screwdriver for installing the Arctic Freezer 34 Esports Duo. All other necessary components are included in the package.
Conclusion
Installing the Arctic Freezer 34 Esports Duo is straightforward and efficient. This cooler provides excellent thermal performance. By following the steps outlined, you can ensure optimal cooling for your system. Enjoy a quieter and cooler gaming experience with this reliable cooling solution.
Upgrade your setup and experience the difference today.