Transporting an upright freezer on its side is not recommended. This can damage the compressor and affect its performance.
Moving an upright freezer requires careful planning to ensure it remains functional. Many people wonder about the best way to transport this essential kitchen appliance. Freezers are designed to stand upright, and changing their position can lead to issues. Proper handling preserves the appliance’s integrity and lifespan.
Before moving, consider factors like the distance, the surface, and the time it will take to set it up again. Understanding how to transport a freezer safely will help avoid costly repairs and maintain your food’s safety. Follow the right steps to ensure a smooth moving experience and keep your freezer in top condition.
The Debate On Freezer Transportation
Many people worry about transporting an upright freezer on its side. This concern often leads to misunderstandings and myths. One common myth states that it is always dangerous. The truth is, it depends on the freezer model and how long it stays on its side.
Another concern is the potential for oil leakage from the compressor. If the freezer is on its side for a long time, this can happen. But if you keep it upright for a few hours after moving, it should be fine.
| Myth | Fact |
|---|---|
| Freezers cannot be moved on their side. | It depends on the model and duration. |
| Oil will always leak. | Oil leakage is possible but can be managed. |
Understanding Freezers’ Mechanics
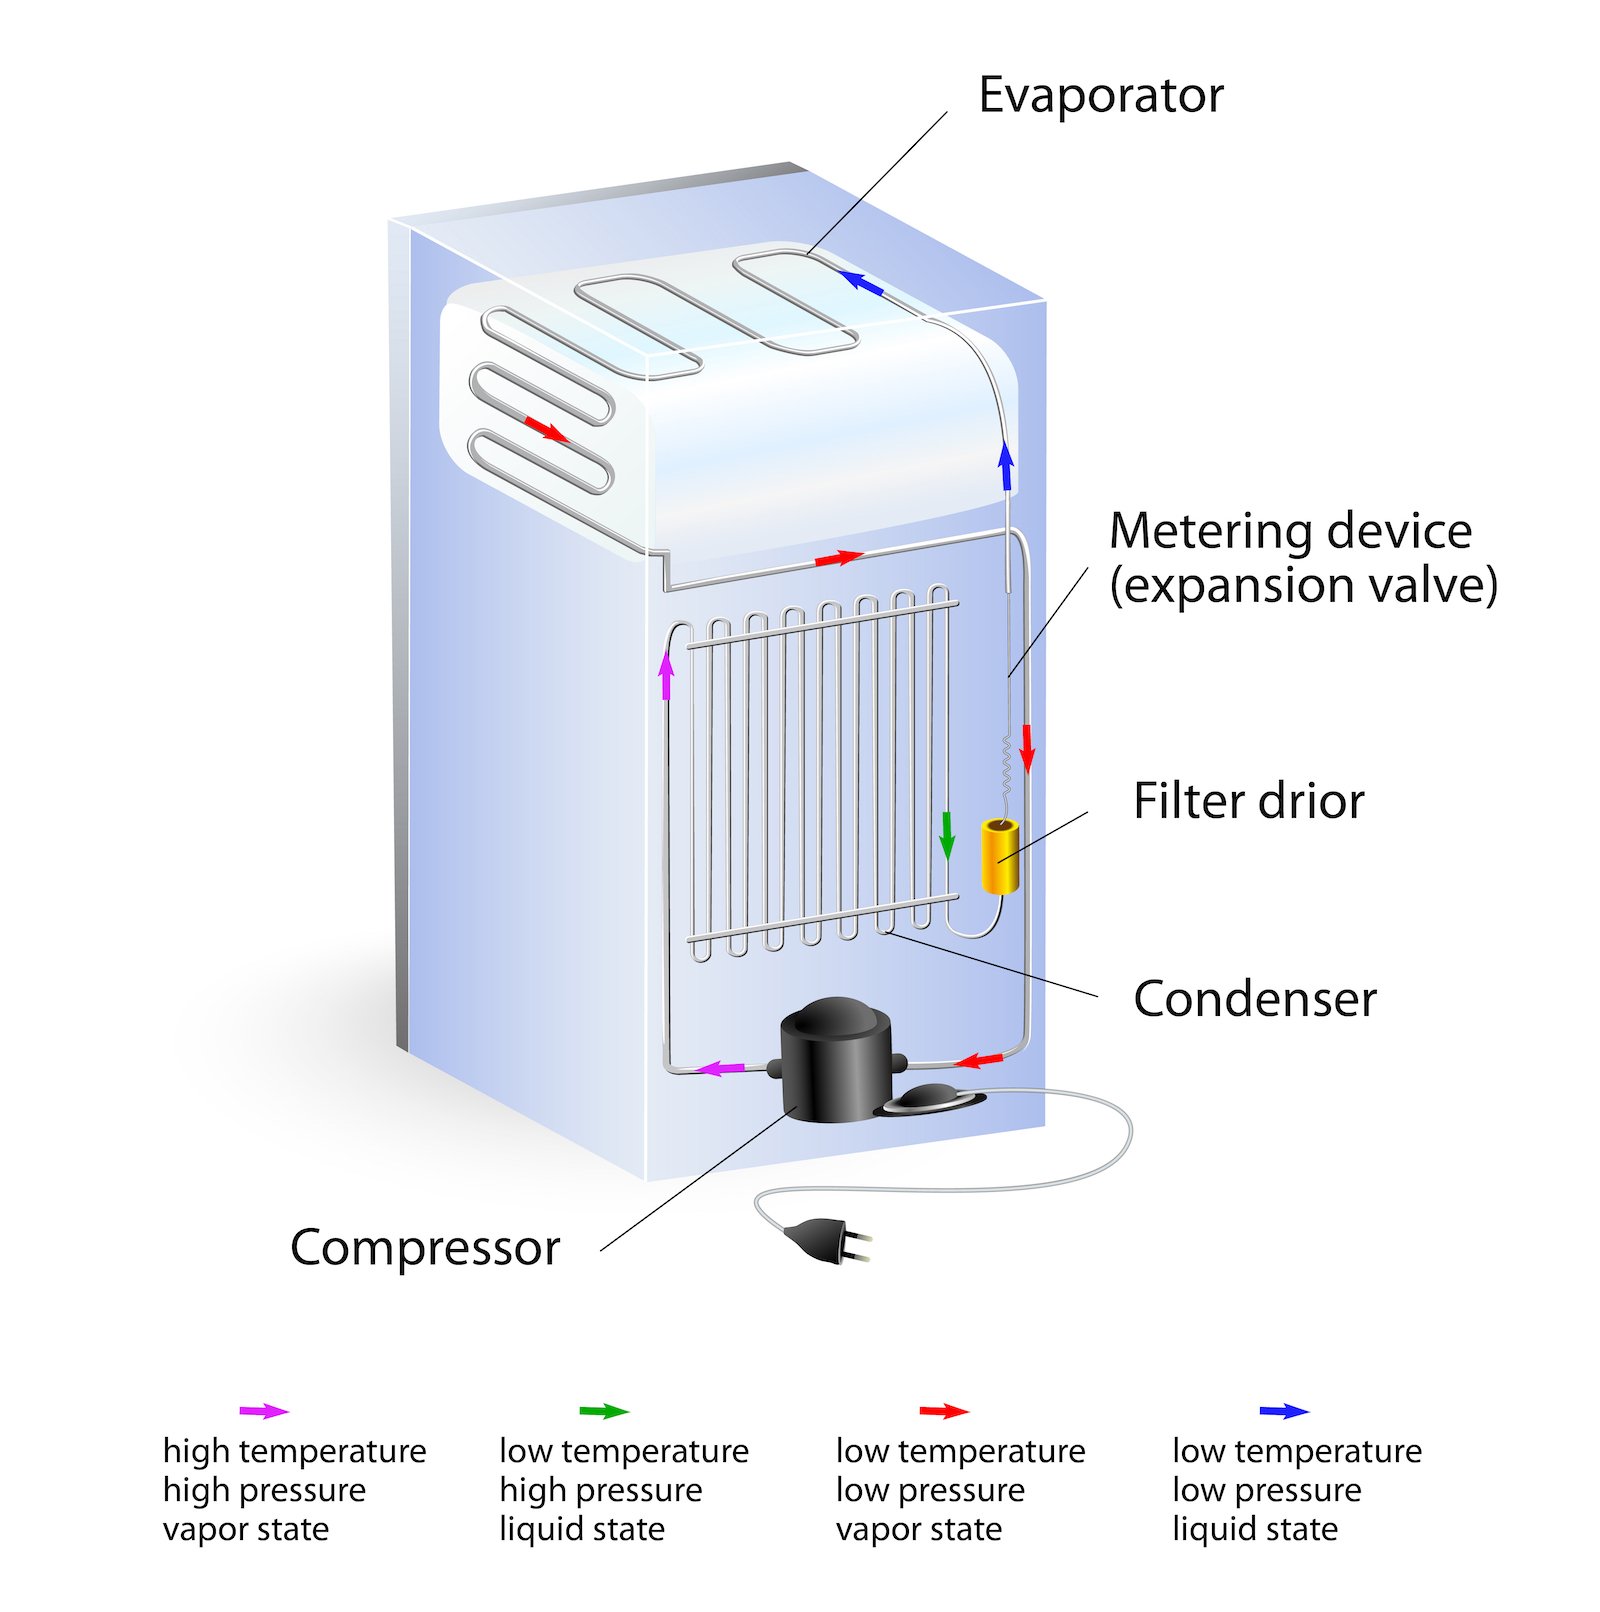
Upright freezers are complex machines. They keep food cold using a refrigeration cycle. This cycle involves compressors, evaporators, and condensers. Each part plays a key role in cooling.
Transporting an upright freezer on its side can harm these components. Oil from the compressor may flow into the cooling lines. This can lead to blockages and damage. The evaporator could also become bent or broken.
Always keep the freezer upright during transport. If it must be on its side, allow it to sit upright for several hours before plugging it in. This helps the oil return to the compressor. Protecting these components ensures the freezer works properly.
Pros Of Upright Transportation
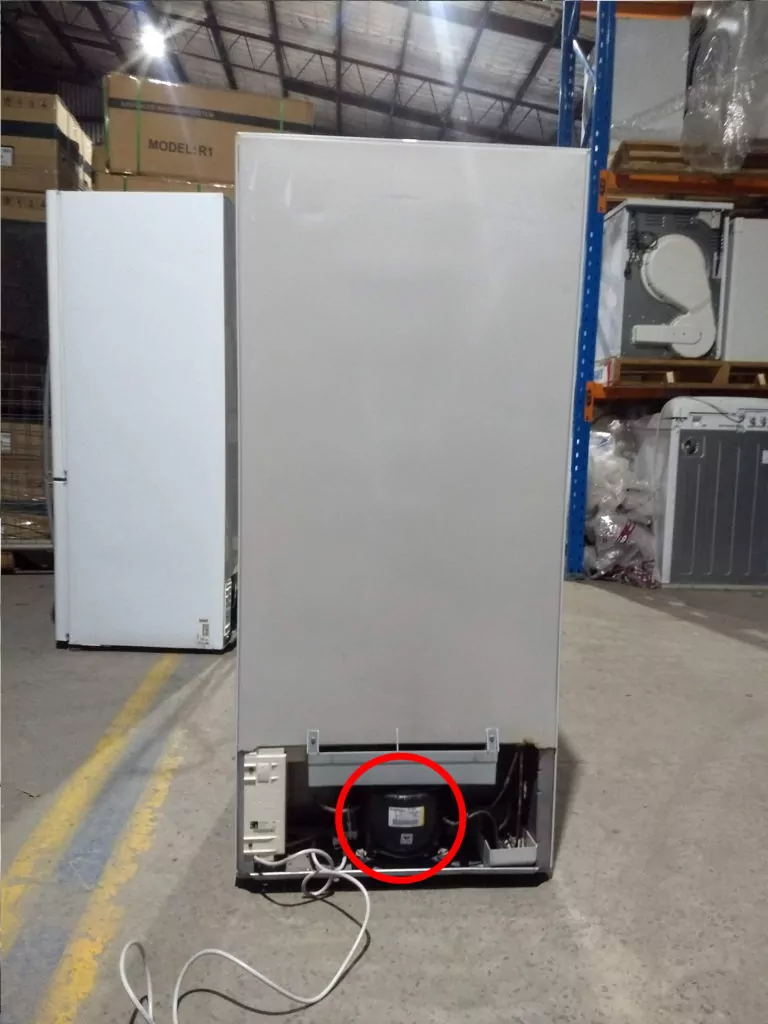
Transporting an upright freezer on its side can affect its internal mechanics. This can lead to damage and malfunction. Keeping it upright helps maintain the compressor’s position. The oil in the compressor stays in place, preventing issues.
Avoiding leaks is crucial during transportation. If the freezer is on its side, coolant may leak. This can harm the environment and reduce the freezer’s efficiency. Always check for leaks before moving it. Proper handling ensures the freezer works well after transport.

Credit: blog.puls.com
Cons Of Sideways Transportation
Transporting an upright freezer on its side can cause serious damage. The compressor can shift, leading to mechanical failure. Oil may leak into the cooling lines, affecting performance. The seals can also become compromised during this process.
Warranty issues may arise from improper transportation. Many manufacturers require upright positioning. Damage from sideways transport may void your warranty. Always check your warranty terms before moving the freezer.
Preparation Steps
To prepare for transporting an upright freezer, focus on securing components. Remove all items from the freezer. This prevents any movement during transportation. Next, use tape to secure the door shut. This keeps it from opening on the road.
Draining fluids is essential before moving. Unplug the freezer a few hours before. This allows ice to melt and drain properly. Locate the drain plug at the bottom. Use a towel or pan to catch the water. Make sure the area is dry to avoid slipping.
Remember to take your time with these steps. Proper preparation helps prevent damage to the freezer.
Transportation Tips
Always use proper lifting techniques. Bend your knees and keep your back straight. Use your legs to lift the freezer, not your back. This helps avoid injury.
Make sure to secure the freezer during transportation. Use straps or rope to hold it in place. This prevents it from moving or falling over.
Place the freezer in an upright position whenever possible. If you must lay it on its side, check the manufacturer’s guidelines. Allow it to sit upright for at least 24 hours before plugging it in.
Cover the freezer with a blanket or padding. This protects it from scratches and damage during transport.
Post-transport Advice
After moving an upright freezer, give it some settling time. This allows the oil to flow back into the compressor. Wait at least 24 hours before plugging it in. This helps prevent damage to the appliance.
Check for damage after the settling time. Look for any dents or scratches on the exterior. Open the door and check the seals. Ensure they are not damaged or loose. Inside, check for any broken shelves or loose parts. If everything looks good, you can start using your freezer.

Credit: m.youtube.com
Professional Vs. Diy Moving
Choosing between professional movers and DIY moving can be tough. Hiring experts is wise for large or heavy items. They have the right tools and experience.
DIY moving can save money. It works well for smaller items. A checklist can help you stay organized during the process.
| Task | Status |
|---|---|
| Gather packing supplies | ✔️ |
| Clear the path for moving | ✔️ |
| Label boxes clearly | ✔️ |
| Secure heavy items | ✔️ |
| Ask friends for help | ✔️ |

Credit: www.whybuy.com.au
Conclusion
Transporting an upright freezer on its side can lead to potential damage. It’s crucial to keep it upright during the move to ensure proper functionality. Always consult the manufacturer’s guidelines for best practices. Taking these precautions will help maintain your freezer’s longevity and efficiency, ensuring it serves you well for years to come.
