To replace the Whirlpool freezer LED light, first unplug the appliance. Then, remove the old LED light and install the new one.
Whirlpool freezers are known for their efficiency and durability. LED lights play a crucial role in maintaining the functionality and visibility inside the freezer. Over time, these lights can wear out and require replacement. Replacing the LED light is a straightforward process that ensures your freezer continues to perform optimally.
Following the right steps can make this task quick and hassle-free. This guide will walk you through the simple steps to replace the LED light, helping you maintain your freezer’s efficiency and longevity. Proper maintenance of your appliance can save you time and energy in the long run.

Credit: www.amazon.com
Tools And Materials
You will need a screwdriver. A flathead screwdriver is useful. You might also need a Phillips head screwdriver. A pair of gloves is important for safety. Make sure you have a flashlight. It helps you see in dark spaces. Needle-nose pliers are also good to have.
Buy a replacement LED light. Make sure it’s for your Whirlpool model. You will need a user manual. The manual helps you find the light. Have some cleaning wipes ready. They help keep the area clean. A container is good for holding screws. Tape can help mark the light’s position.
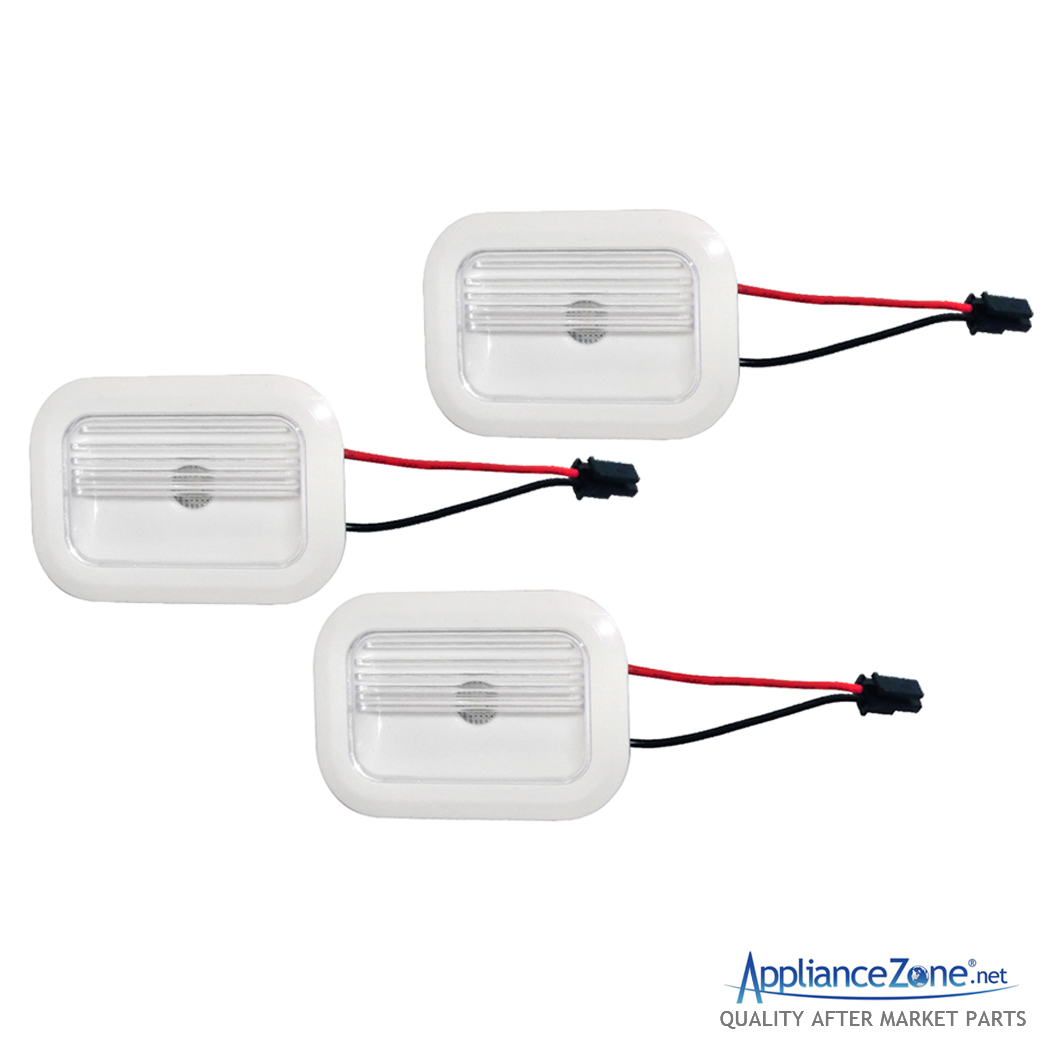
Credit: www.appliancezone.net
Safety Precautions
Ensure safety by unplugging the freezer before replacing the Whirlpool LED light. Use gloves to protect your hands from sharp edges.
Power Off
Always turn off the power before starting. This prevents electric shocks. Locate the main power switch and flip it off. Confirm the freezer is off by checking the light.
Protective Gear
Wear safety gloves to protect your hands. Use goggles to shield your eyes. This keeps you safe from sharp edges and loose debris. Always follow these steps for your safety.
Accessing The Freezer Light
First, open the freezer door. Look at the top part of the freezer. The light is usually there. It may have a cover. Check for screws or clips.
Take out the food items. Remove the shelves carefully. This gives you more space to work. Be sure to place them safely aside. Now you can access the light easily.
Removing The Old Led Light
Replacing the Whirlpool freezer LED light involves carefully removing the old light. Start by gently prying out the existing LED unit. Ensure the freezer is unplugged for safety.
Unscrew The Cover
First, find the screws on the cover. Use a screwdriver to remove the screws. Keep the screws in a safe place. Lift the cover off gently. Be careful not to break the cover.
Disconnect The Light
Next, find the connector for the LED light. Unplug the connector carefully. Hold the LED light and pull it out. Make sure not to touch any other parts. Place the old light aside.
Installing The New Led Light
First, align the new LED light with the socket. Next, gently push the light into the socket until it clicks. Make sure the light is secure. Finally, test the light by turning it on.
Place the cover back over the new LED light. Ensure all clips or screws line up correctly. Press down firmly to secure the cover in place. Use a screwdriver if needed to tighten any screws. Make sure the cover is snug and not loose. This helps protect the light and keeps it working well.
Testing The New Light
Plug the freezer back into the power source. Make sure the power is on. Open the freezer door. The new light should turn on. If it doesn’t, check the connections. Make sure they are tight and secure. Sometimes, the bulb may not be seated properly. Check this and adjust if needed.
Ensure the light stays on for a while. Close the door and open it again. The light should come on instantly. If the light flickers, it might be a faulty bulb. Double-check your installation steps. The new light should be bright and steady. If not, consider getting a replacement bulb.
Reassembling The Freezer
Replacing the Whirlpool freezer LED light involves a few simple steps. Remove the cover, swap the old bulb with a new one, and reassemble the freezer. Ensure everything is securely in place for optimal performance.
Replace Shelves
First, slide the shelves back into their original positions. Make sure each shelf clicks into place. Align the edges properly to ensure stability. Double-check that the shelves are level. This prevents items from sliding off.
Next, insert the drawers back into the freezer. Ensure they glide smoothly on their tracks. Pull each drawer out and push it back in to test. If a drawer sticks, adjust its position slightly. Proper alignment is essential for smooth operation.
Finally, close the freezer door. Check the seal around the door for any gaps. A tight seal keeps the freezer cold. Plug the freezer back in and monitor the temperature. Your freezer is now reassembled and ready for use.
Organize Contents
Return all items to the freezer. Place heavier items on the bottom shelves. Lighter items should go on top. Group similar items together for easy access. Label shelves if needed. This keeps your freezer organized and efficient.
Leave some space between items. Good air circulation is important. It ensures even cooling. Avoid overloading the freezer. This can strain the appliance. Regularly check and organize the contents. Keep your freezer clean and tidy for best performance.

Credit: www.youtube.com
Maintenance Tips
Check the freezer light every month. Look for any flickering or dim light. Make sure the light is bright and steady. A dim light means you need to replace it. Keep an eye on the light cover too. Cracks or dirt can block the light.
Turn off the freezer before cleaning. Remove the light cover gently. Use a soft cloth and mild soap. Clean the cover with warm water. Dry it completely before putting it back. A clean cover helps the light shine bright.
Frequently Asked Questions
How Do I Replace The Led Light In My Freezer?
Unplug the freezer. Remove the light cover. Unscrew the old LED bulb. Screw in the new LED bulb. Replace the cover and plug the freezer back in.
How To Change Freezer Light In Whirlpool?
Unplug the freezer. Remove the light cover. Unscrew the old bulb and replace it with a new one. Reattach the cover.
How Do You Remove The Light Switch On A Whirlpool Freezer?
First, unplug the freezer for safety. Remove the control panel cover. Disconnect wires from the switch. Unscrew and remove the switch.
Why Is The Led Light Not Working On My Whirlpool Refrigerator?
The LED light on your Whirlpool refrigerator might not work due to a faulty bulb, loose connection, or power issue. Check and replace the bulb if needed. Ensure connections are secure and the refrigerator is receiving power. Consult the manual or a technician for further assistance.
Conclusion
Replacing your Whirlpool freezer LED light is simple and quick. Follow the steps to ensure proper installation. This guide helps you maintain your appliance effectively. Enjoy a well-lit freezer and avoid any inconvenience. Keep your freezer in top shape with this easy fix.