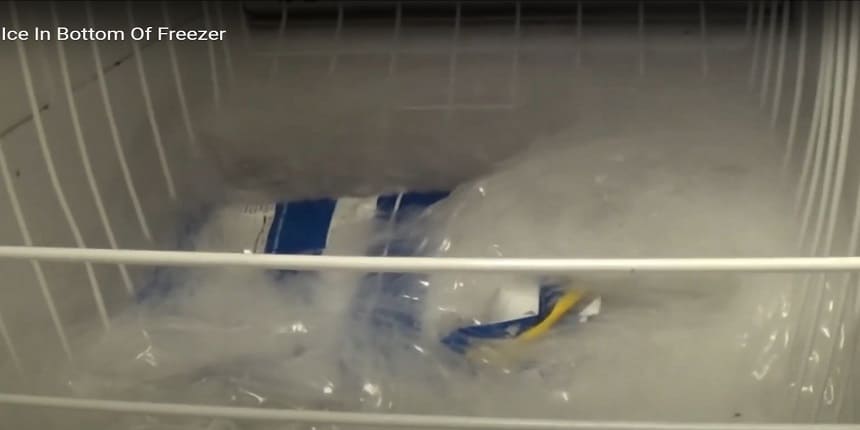
Ice build up in the bottom of the freezer can be caused by poor airflow or a faulty defrost system. In some cases, items stored in the freezer may have caused accidental spills or leaks, leading to ice accumulation.
Regular maintenance and proper food storage can help prevent this issue. Now, let’s dive deeper into the reasons behind ice build up in the bottom of the freezer and explore some practical solutions.
Why Ice Build Up In Bottom Of Freezer & freezer collecting ice at bottom
Ice build up in the bottom of a freezer can be a common issue for many people. Understanding the causes of this problem is crucial in order to prevent it from happening and to ensure optimal freezer performance.

There are several common causes of ice build up in the bottom of a freezer.
#1: One possible cause is a malfunctioning defrost cycle. If the defrost cycle is not functioning properly, it can lead to excessive frost and ice accumulation.
#2: Another cause could be a faulty door seal. When the door seal is not tight, warm air can enter the freezer, causing condensation and subsequent ice formation.
Ice build up can have a negative impact on freezer performance. It can restrict airflow and reduce the freezer’s cooling ability, resulting in higher energy consumption and longer freezing times.
Additionally, excessive ice build up can take up valuable storage space, making it difficult to organize and store food effectively.
To prevent ice build up in the bottom of your freezer, regularly check and maintain the defrost cycle, ensuring it is working properly. Inspect the door seal for any signs of damage and replace if necessary. Keeping the freezer well organized and avoiding overcrowding will also help maintain proper airflow and minimize the risk of ice buildup in the freezer bottom.
How To fix ice blockage in freezer – ice forming in freezer bottom

Quick Fix 1: Check And Adjust Temperature Settings
Ice build up in the bottom of your freezer can be a frustrating problem, but there are some quick fixes you can try to prevent it. One of the first things to check is the temperature setting of your freezer.
Optimal freezer temperature for ice prevention is around 0 degrees Fahrenheit or -18 degrees Celsius.
Here are some steps you can take to adjust the temperature settings:
- Locate the temperature control dial or buttons usually found inside the freezer.
- Turn the dial or press the buttons to set the temperature to the recommended level of 0 degrees Fahrenheit or -18 degrees Celsius.
- Wait for several hours to allow the freezer to stabilize at the new temperature setting.
- Check the freezer periodically to ensure that the temperature is maintained at the desired level.
- Additionally, keep the freezer door closed as much as possible to maintain a consistent temperature and prevent warm air from entering.
Quick Fix 2: Clear And Organize Freezer Contents – drawer freezer keeps icing up
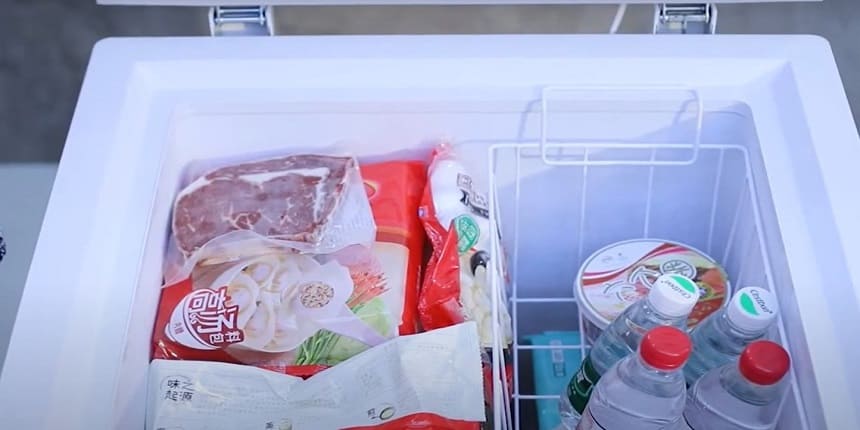
Ice build-up in the bottom of your freezer can be a common issue, but there are ways to prevent it and keep your freezer organized. Decluttering your freezer is an important step to take.
Step #1: Remove any old or expired items, as they can contribute to ice build-up. Make sure to clear out any frost or ice that has already accumulated, as this can interfere with proper airflow and lead to more ice forming in freezer compartment.
Step #2: Once your freezer is decluttered and clean, it’s time to organize the contents. Group similar items together and use containers or bins to keep things organized. This will help improve airflow and prevent ice from forming.

Step #3: Labeling containers can make it easier to find what you need and reduce the time the freezer door is open.
Quick Fix 3: Inspect And Replace Faulty Door Seals – troubleshooting freezer ice build up
Ice build-up in the bottom of your freezer can be a sign of faulty door seals. Well-functioning door seals are essential for maintaining the temperature and preventing cool air from escaping.
To identify if your door seals are damaged, start by visually inspecting them for any signs of wear and tear or cracks.
Next, perform the dollar bill test by placing a dollar bill in the door and closing it. If you can easily pull the bill out, it means the seals are not creating a tight seal.
To replace the damaged seals, first, make sure you have the correct replacement seals for your freezer model.
#1: Start by removing the old seals using a putty knife or a screwdriver.
#2: Clean the area thoroughly and then begin attaching the new seals, starting from one corner and working your way around.
#3: Make sure the seals are securely in place and provide a tight fit.
If you are willing to buy a new door seals for your Freezer discover the best freezer door seals available and find the ideal option that meets your specific requirements.
Find Out Door Seals for Freezers
Check out this link if you are interested in purchasing a new door seal for your freezer. Save your time and minimize your costs!
Whether you’re looking for durability, insulation efficiency, or ease of installation, there’s a perfect fit for you!
Quick Fix 4: Defrost And Clean Freezer Regularly – ice buildup on freezer floor
Regularly defrosting and cleaning your freezer is essential to prevent ice build up in the bottom. This simple and quick fix can greatly benefit you in several ways:
- Efficient cooling: Ice forming in freezer bottom can obstruct the proper functioning of your freezer, leading to reduced cooling efficiency. Regular defrosting ensures optimal cooling performance.
- Prevents damage: Excessive ice accumulation can damage the freezer’s components and lead to costly repairs. Cleaning and defrosting regularly helps extend the lifespan of your appliance.
- Maximizes storage space: Accumulated ice takes up valuable storage space in your freezer. By promptly defrosting, you can free up room for more food items.
- Reduces energy consumption: A freezer heavily burdened bottom of freezer full ice consumes more energy to maintain the desired temperature. Regular defrosting helps lower your energy bills.
For a thorough defrosting process, follow these step-by-step instructions:

- Remove all food items from the freezer and transfer them to a temporary storage space.
- Unplug the freezer and leave the door open to allow the ice to melt naturally.
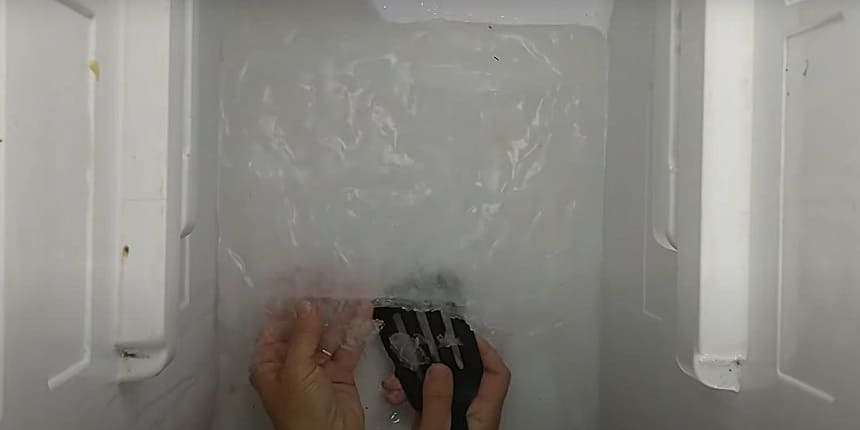
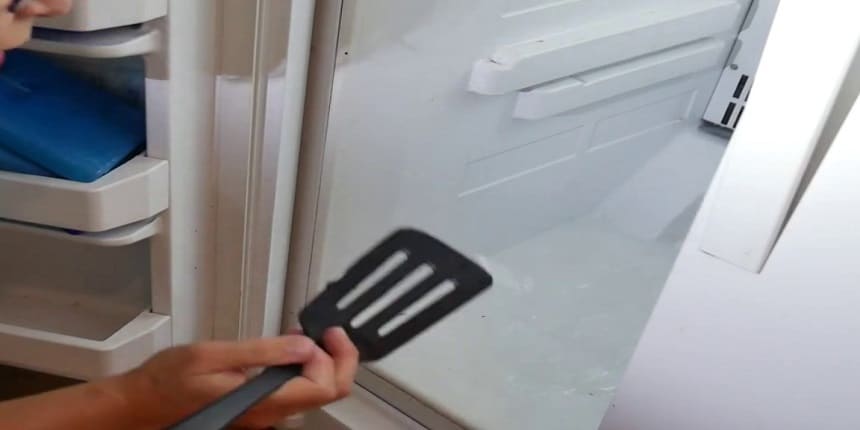
- Carefully scrape off any remaining ice using a plastic utensil or scraper. Avoid using sharp objects that may damage the freezer’s interior.
- Clean the interior with a mixture of warm water and mild detergent. Wipe down all surfaces, including the shelves and door seals.
- Dry the interior thoroughly before plugging the freezer back in and returning the food items.
Quick Fix 5: Utilize Baking Soda To Eliminate Odors
Neutralizing Odors: Baking soda is well-known for its ability to absorb and neutralize unpleasant odors. When placed in the freezer, it can help eliminate any unwanted smells.
Techniques for Using Baking Soda: There are a few ways to effectively use baking soda in the freezer. One method is to simply place an open container of baking soda on a shelf. This allows it to absorb odors over time.
Replacing Baking Soda: It is advisable to replace the baking soda in the freezer every 3-6 months, as it becomes less effective over time. This ensures continued odor absorption.
Keeping Food Fresh: In addition to eliminating odors, baking soda can help keep food fresher for longer. It helps to maintain the proper pH level and prevent the growth of bacteria that can lead to food spoilage.
By implementing these techniques, you can effectively use baking soda to neutralize odors and keep your freezer smelling fresh. Remember to replace the baking soda regularly for optimal results.
Find The Baking Soda for Freezers
Investigate the range of baking soda products for freezers to find the best match for your unique requirements.
Whether you’re aiming to neutralize odors, absorb moisture, or maintain freshness, there’s an excellent option tailored for you!
How Do You Fix An Iced Bottom On A Freezer?
To fix an iced bottom on a freezer, follow these steps:
1. Turn off the freezer and unplug it.
2. Remove all items from the freezer and place them in a cooler or another freezer.
3. Allow the ice to thaw naturally or use a hairdryer to speed up the process.
4. Clean the freezer thoroughly with warm water and mild detergent.
5. Once the ice is completely melted and the freezer is dry, plug it back in and turn it on.
Why Is My Freezer Icing Up At The Bottom?
Your freezer is icing up at the bottom because of a few possible reasons. Firstly, there may be a leak in the door seal, allowing warm air to enter and condense. Secondly, the defrost drain could be blocked, causing water to accumulate and freeze.
Lastly, the temperature setting might be too low, leading to excessive ice formation. Check these factors to resolve the issue.
Why Is Water Building Up At The Bottom Of My Freezer?
The water is likely building up at the bottom of your freezer due to a clogged or blocked defrost drain.
Check for any debris or ice blocking the drain and clear it if necessary. Proper maintenance and regular cleaning can help prevent this issue.
Why Is Ice Forming In My Freezer Drain?
Ice forms in your freezer drain due to a clogged or blocked drain.
Debris, such as food particles, can accumulate and cause water to freeze. Regularly clean the drain to prevent this issue.
Conclusion
Dealing with Ice build up in bottom of freezer can be a frustrating task. However, by understanding the causes and implementing preventive measures like regular defrosting and proper ventilation, you can reduce or eliminate this issue. Maintaining a clean and organized freezer also helps to prevent ice build-up.
By taking these steps, you can ensure that your freezer remains in optimal working condition, providing efficient cooling and preserving your food for longer periods.
