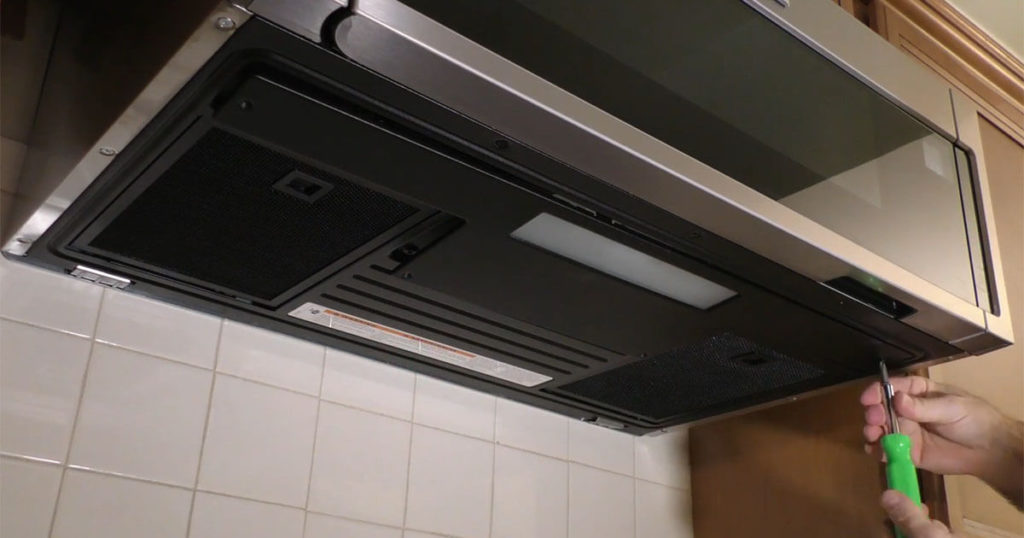
To replace the freezer light bulb, first, unplug the freezer and locate the light cover. Carefully remove the cover and unscrew the old bulb, then replace it with a new one of the same wattage.
When it comes to maintaining your freezer, ensuring the light bulb is in good working condition is often overlooked. The light bulb is crucial for visibility inside the freezer and should be promptly replaced if it burns out. A dark freezer makes it difficult to find items and can be a safety hazard.
Fortunately, replacing the bulb is a straightforward process, requiring minimal time and effort. This article provides simple steps to replace the freezer light bulb and ensure that your freezer remains well-lit and functional for everyday use.
Replace Freezer Light Bulb: Easy Step-by-step Guide
Do not underestimate the significance of a functioning freezer light, as it provides visibility and convenience when accessing stored items. Safety is crucial when replacing a freezer light bulb, so be sure to unplug the appliance and wear protective gloves. To begin the replacement process, locate the light cover and carefully remove it to access the bulb. Use a cloth to unscrew the old light bulb and replace it with a new one of the same wattage. After securely tightening the new bulb, reattach the light cover and plug the freezer back in. Verify the functionality of the new bulb by opening and closing the door to ensure proper activation.
Identifying The Right Bulb
|
Identifying the Right Bulb: When replacing your freezer light bulb, it is essential to understand your freezer’s model and the type of bulb it requires. Be sure to consult the appliance manual for specifications. |
|
Types of Freezer Light Bulbs: There are different types of freezer light bulbs, including LED and incandescent bulbs. LED bulbs are recommended for their energy efficiency and long lifespan. |
|
Where to Purchase Replacement Bulbs: Replacement bulbs can be found at hardware stores, appliance retailers, and online suppliers. Ensure that the replacement bulb matches the specifications of your freezer model. |
Preparing For The Replacement
To replace the freezer light bulb, gather essential tools and materials including a replacement bulb, screwdriver, and perhaps gloves for added safety. Before starting, power down and unplug the freezer to prevent any electrical mishaps. It is important to consider necessary safety gear such as gloves to protect your hands from any sharp edges inside the freezer.

Credit: applianceanswers.ca
Removing The Old Bulb
When replacing the freezer light bulb, start by locating the light cover. Once you have located the cover, carefully remove it to access the old bulb. Gently unscrew the old bulb from its socket, making sure not to damage any surrounding components. Dispose of the old bulb properly and avoid causing any breakage that could result in injury. After removing the old bulb, ensure that the area is clean and free of any debris. Proceed with inserting the new bulb and securely screwing it into place. Finally, replace the light cover and ensure it is properly secured. Testing the new bulb to confirm its functionality is essential before closing the freezer.
Installing The New Bulb
When replacing the freezer light bulb, it is essential to prepare the new bulb before installation. Ensure it matches the wattage and style of the original bulb. For step-by-step installation, start by disconnecting the power supply and carefully remove the cover to access the bulb. Dispose of the old bulb properly. Next, insert the new bulb into the socket and secure it in place. Proper bulb alignment is crucial to ensure it functions correctly. Once the new bulb is in place, reconnect the power and test to verify it illuminates. If the bulb aligns properly and emits light, safely reattach the cover and your freezer should be well-lit once again.
Testing And Maintenance
When it comes to replacing the freezer light bulb, it’s important to ensure the power source is disconnected before testing or maintenance. Powering up the appliance and conducting light testing are crucial steps in the process. Additionally, to prolong the bulb’s life, it’s recommended to keep the freezer door closed as much as possible to minimize the frequency of on/off cycles. Moreover, regularly cleaning the bulb and its surroundings can aid in maintaining its functionality. When examining the bulb, if it appears dim or fails to illuminate, it’s a clear indication that it needs to be replaced. In such cases, promptly locating a suitable replacement is essential to avoid prolonged periods without adequate lighting in the freezer.
Frequently Asked Questions Of Replace Freezer Light Bulb
How Do I Know If My Freezer Light Bulb Needs Replacement?
To check if your freezer light bulb needs replacement, first, inspect the bulb for any dark spots or a broken filament. Also, if the light doesn’t turn on, it may need replacing. Check the owner’s manual for specific guidance.
What Type Of Bulb Should I Use To Replace My Freezer Light Bulb?
When replacing your freezer light bulb, use a specific appliance bulb that can withstand low temperatures. Look for a bulb labeled as “freezer” or “appliance” to ensure it can operate effectively in the cold temperatures of your freezer.
What Are The Steps To Replace A Freezer Light Bulb?
To replace your freezer light bulb, start by unplugging the appliance for safety. Then, remove the old bulb by twisting it counterclockwise. Insert the new bulb and secure it by twisting it clockwise. Finally, plug the appliance back in and test the new bulb.
Conclusion
In just a few easy steps, you can replace the light bulb in your freezer. With this simple DIY task, you can keep your freezer well-lit and functioning at its best. By following the tips mentioned in this blog post, you can ensure a quick and hassle-free replacement process.
Say goodbye to a dim freezer and hello to bright, efficient lighting!
