To charge a walk-in freezer with 404A, consult the manufacturer’s guidelines or hire a professional technician with experience in refrigeration systems. In commercial settings like restaurants or grocery stores, walk-in freezers play a crucial role in preserving perishable goods.
Ensuring the proper functioning of these freezers involves tasks like regular maintenance and occasional recharging of refrigerants. When it comes to charging a walk-in freezer with 404A, a commonly used refrigerant, the process should be carried out with precision to maintain optimal performance.
This article explores the step-by-step procedure to charge a walk-in freezer with 404A, allowing for the effective cooling and longevity of the freezer unit. Following the manufacturer’s guidelines or seeking assistance from a qualified refrigeration technician will help ensure a successful recharge.
Importance Of Properly Charging A Walk-in Freezer
Properly charging a walk-in freezer with 404A refrigerant is of utmost importance for efficient operation and longevity. By following the correct charging procedures, you can ensure that your walk-in freezer maintains optimal temperature conditions and prevents issues such as inadequate cooling or excessive energy consumption.
When charging a walk-in freezer, it is crucial to consider factors such as the size of the freezer, the amount of refrigerant required, and the manufacturer’s specifications. While the specific steps for charging may vary depending on the model, some general guidelines can be followed:
- Ensure that the freezer is properly installed and all electrical connections are secure.
- Check the refrigerant pressure using a manifold gauge set, and compare it with the manufacturer’s recommended pressure range.
- If the pressure is outside the recommended range, refrigerant may need to be added or removed. Consult the manufacturer’s guidelines for the correct action.
- If refrigerant needs to be added, it should be done slowly to prevent overcharging. Use a scale to measure the precise amount of refrigerant required.
- Monitor the temperature in the freezer and ensure that it reaches the desired level. Adjust the refrigerant as necessary to achieve the optimal temperature.
By following these steps and adhering to the manufacturer’s guidelines, you can ensure that your walk-in freezer is properly charged with 404A refrigerant, promoting efficient operation and extending the lifespan of your equipment.
Essential Tools For The Charging Process
A walk-in freezer requires proper charging to ensure optimal performance and efficiency. To successfully charge a walk-in freezer with 404A refrigerant, you will need a few essential tools:
| Refrigerant Manifold Gauge Set | A refrigerant manifold gauge set is a crucial tool for the charging process. It allows you to measure both the pressure and temperature of the refrigerant, helping you determine if the system is properly charged. |
| Pressure and Temperature Sensors | Pressure and temperature sensors play a critical role in monitoring the system during the charging process. These sensors provide accurate readings that help you adjust the refrigerant levels accordingly. |
| Thermometer | A thermometer is essential for measuring the temperature of the freezer. It helps you ensure that the temperature remains within the desired range throughout the charging process. |
Maintaining the proper charge in a walk-in freezer is vital for optimal performance and energy efficiency. With the right tools, such as a refrigerant manifold gauge set, pressure and temperature sensors, and a thermometer, you can successfully charge a walk-in freezer with 404A refrigerant and keep it running at its best.
Choosing The Right Refrigerant: 404a
Determining the appropriate refrigerant for a walk-in freezer is crucial, and one common choice is R-404A. This refrigerant possesses several characteristics and benefits that make it a popular option for this application.
First and foremost, R-404A has excellent cooling capacity and energy efficiency. Its high latent heat of vaporization enables it to effectively absorb heat, making it ideal for maintaining low temperatures in a walk-in freezer. Additionally, it has a low boiling point, allowing for faster heat transfer and efficient performance.
R-404A is also known for its low toxicity and non-flammability, ensuring a safe working environment. Furthermore, it has a relatively low impact on the ozone layer, which aligns with environmental sustainability goals.
Given these qualities, R-404A is commonly used in walk-in freezers where reliability, efficiency, and safety are of utmost importance. By selecting the proper refrigerant, businesses can optimize the performance of their walk-in freezers and ensure the longevity of their refrigeration systems.
Preparing The Walk-in Freezer
When charging a walk-in freezer with 404A, it is crucial to ensure that there are no leaks or damages in the system. Small leaks may go unnoticed but can have a significant impact on the cooling efficiency. Inspect all the connections, valves, and joints for any signs of leakage.
Clearing obstructions and organizing the space is equally important in preparing the walk-in freezer. Remove any clutter, boxes, or other items that may obstruct the airflow and prevent the proper circulation of cold air. Organize the space to allow for easy access to the freezer shelves and products.
Connecting The Refrigerant Manifold Gauge Set
When charging a walk-in freezer with 404A refrigerant, it is important to correctly connect the refrigerant manifold gauge set. The manifold gauge set is a critical tool used to measure pressure and temperature in the refrigeration system.
In order to attach the hoses correctly, you should first ensure that the valves on the manifold gauge set are closed. Then, connect the red hose to the high-pressure side of the system, usually labeled as the discharge line. The blue hose should be connected to the low-pressure side, typically labeled as the suction line. Finally, connect the yellow hose to the refrigerant cylinder.
The gauges on the manifold gauge set provide important readings that help in determining the pressure and temperature of the refrigerant. The high-pressure gauge indicates the pressure in the high-pressure side of the system, while the low-pressure gauge shows the pressure in the low-pressure side. By monitoring these readings, you can ensure that the refrigerant is charged properly and the system is operating at the correct levels.
Properly Recovering The Old Refrigerant
In order to properly charge a walk-in freezer with 404A refrigerant, it is essential to follow the correct procedures for recovering the old refrigerant. Identifying and using the correct recovery equipment is crucial to ensure the safe and efficient removal of the old refrigerant. This equipment should be specifically designed for 404A refrigerant and should adhere to industry standards.
Properly recovering the old refrigerant not only helps to comply with environmental regulations but also ensures the integrity of the new refrigerant being charged. The recovered refrigerant must be safely disposed of according to local regulations to prevent any harm to the environment. It is important to partner with a licensed disposal facility to handle the proper disposal of the recovered refrigerant.
By following these guidelines, you can ensure that the walk-in freezer is charged with 404A refrigerant in a safe and compliant manner, promoting optimal performance and longevity of the system.
Evacuating The System
Evacuating the system is an essential step in charging a walk-in freezer with 404A refrigerant. The process involves removing air and moisture from the system to ensure optimal performance and prevent potential issues.
One effective method for evacuation is using a vacuum pump. This powerful device creates a vacuum within the system, which pulls out any air and moisture present. It is important to run the vacuum pump for a sufficient amount of time to ensure proper evacuation. Typically, a vacuum gauge is used to monitor the vacuum level and determine when the system is adequately evacuated.
By removing air and moisture, the overall efficiency of the system is improved. Air can cause refrigerant flow issues and decrease system performance, while moisture can lead to ice formation and potentially damage the system components. Therefore, a thorough evacuation process is crucial before charging a walk-in freezer with 404A refrigerant.
Charging The Walk-in Freezer With 404a
Charging a walk-in freezer with 404A refrigerant involves calculating the correct charge amount and following a step-by-step process. To calculate the charge amount, you need to consider the size of the freezer, the manufacturer’s specifications, and temperature requirements. Once you have the correct charge amount, you can proceed with adding the refrigerant.
Here is a simple step-by-step process for charging the walk-in freezer with 404A:
- Ensure the freezer is powered off and the refrigerant lines are accessible.
- Attach the refrigerant cylinder to the charging manifold and connect it to the low-pressure side of the system.
- Open the cylinder valve slowly to allow the 404A refrigerant to start flowing into the system.
- Monitor the pressure on the low-pressure side and add refrigerant until the pressure reaches the recommended level.
- Close the cylinder valve and detach the charging manifold from the system.
- Check for any leaks and ensure all connections are secure.
- Power on the freezer and monitor its temperature to ensure it reaches the desired level.
Following these steps will help you charge your walk-in freezer with 404A refrigerant correctly, ensuring optimal performance and efficiency.
Monitoring And Adjusting The Charge
Monitoring and adjusting the charge of a walk-in freezer with 404A requires an understanding of pressure and temperature readings. The correct charge is crucial for ensuring optimal performance and preventing issues such as inadequate cooling or excessive energy consumption.
Pressure readings are obtained using a pressure gauge or manifold set, while temperature readings can be achieved using a digital thermometer or temperature probe. These readings provide valuable information about the system’s refrigerant levels and overall performance.
When monitoring the charge, it’s important to compare the actual system readings with the manufacturer’s recommended levels for the specific refrigerant, in this case, 404A. If the readings deviate from the recommended levels, adjustments may be necessary.
Adjusting the charge involves adding or removing refrigerant from the system until the desired pressure and temperature readings are achieved. This process should be performed carefully and in accordance with the manufacturer’s guidelines to avoid overcharging or undercharging the system.
Common Issues And Solutions
This blog post will provide valuable insights into common issues and solutions for charging a walk-in freezer with 404A refrigerant. One common issue faced is leaks and low refrigerant levels. Leaks can occur due to various reasons such as faulty gaskets, worn-out seals, or damaged valves. It is crucial to address these leaks promptly to prevent further damage to the system. Regularly monitoring and maintaining the refrigerant levels is also vital to ensure efficient operation. When it comes to excessive frost or ice buildup, it can lead to poor cooling performance and energy inefficiency. Dealing with excessive frost or ice buildup requires periodically defrosting the freezer and checking for any underlying issues such as faulty defrost heaters, malfunctioning fans, or clogged air vents. By addressing these common issues and implementing proper maintenance practices, you can ensure optimal performance of your walk-in freezer charged with 404A refrigerant.
Safety Precautions And Best Practices
When charging a walk-in freezer with 404A refrigerant, it’s essential to take safety precautions and follow best practices. One crucial aspect is the use of personal protective equipment (PPE). Wear goggles, gloves, and a respirator to shield yourself from potential harm.
Another vital consideration is proper handling and storage. Ensure you are familiar with the manufacturer’s instructions and recommendations before attempting to charge the freezer. Store the 404A refrigerant in a cool, dry place away from direct sunlight or heat sources.
Remember, ventilation is key. Always work in a well-ventilated area to prevent the accumulation of harmful fumes. Never inhale the refrigerant or allow it to come into contact with your skin or eyes.
By adhering to these safety measures and following the guidelines provided, you can successfully charge a walk-in freezer with 404A refrigerant while minimizing the risk of accidents or injuries.
Professional Assistance And Maintenance
Regular maintenance is essential to ensure the optimal performance of a walk-in freezer with 404A refrigerant. It is important to consult a HVAC technician to ensure that your freezer is charged correctly and operating at its peak efficiency.
An HVAC technician can provide professional assistance in various areas, including:
- Inspecting the freezer for any leaks or faulty components
- Checking and adjusting the refrigerant levels
- Testing and calibrating the temperature controls
- Cleaning and replacing any worn-out filters or coils
- Ensuring proper air circulation and ventilation
- Identifying and addressing any performance issues or potential problems
By consulting a professional, you can prevent any potential breakdowns, extend the lifespan of your walk-in freezer, and reduce energy consumption. Remember, regular maintenance is a key factor in keeping your walk-in freezer running smoothly and efficiently.
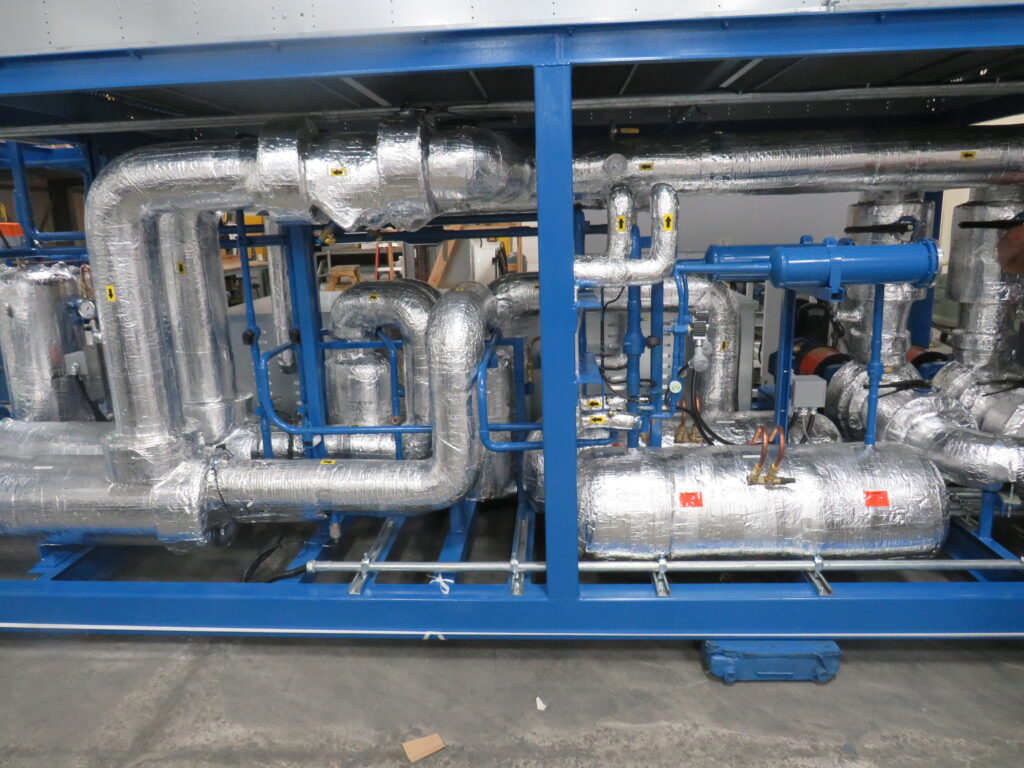
Credit: berg-group.com
Frequently Asked Questions Of How To Charge A Walk In Freezer With 404a
What Are Normal Pressures For 404a In A Walk-in Freezer?
Normal pressures for 404A in a walk-in freezer typically range between 125 and 150 psi on the low side and 225 to 250 psi on the high side. It is important to regularly monitor and adjust these pressures to ensure optimal performance and functionality of the freezer.
How Do You Charge A 404a Freezer?
To charge a 404A freezer, follow these steps for proper refrigerant filling. First, ensure the freezer is powered off and unplugged. Then, connect a charging hose to the refrigerant cylinder and to the low-pressure service valve on the freezer. Slowly open the cylinder valve, allowing refrigerant to enter the system until the correct pressure is reached.
Finally, close the cylinder valve, disconnect the charging hose, and power on the freezer.
Do You Charge 404a As Liquid Or Vapor?
You charge 404A as a liquid.
What Should The High And Low Side Pressures Be For R404a?
The ideal high-side pressure for R404A is around 250-350 psi, while the low-side pressure should be in the range of 35-45 psi. These pressure values help ensure optimal performance and efficiency of R404A refrigerant in cooling systems.
Conclusion
Charging a walk-in freezer with 404A refrigerant requires proper knowledge and equipment. By following the step-by-step guidelines outlined in this blog post, you can ensure the efficient and safe operation of your freezer. Remember to check for leaks, monitor pressure levels, and consult a professional if needed.
With the right approach, you can maintain the optimal performance of your walk-in freezer and extend its lifespan.