The Whirlpool freezer not defrosting could be due to a faulty defrost timer or a faulty defrost heater. If your Whirlpool freezer is not defrosting, it may be caused by a malfunctioning defrost timer or a faulty defrost heater.
The defrost timer controls the defrost cycle, while the defrost heater is responsible for melting frost and ice buildup. If either of these components is defective, it can result in the freezer not defrosting properly. We will explore common causes and solutions for a Whirlpool freezer not defrosting, helping you troubleshoot and potentially fix the issue yourself.
By following the steps mentioned below, you can save both time and money by avoiding unnecessary service calls or replacements.
Identifying The Problem
If your Whirlpool freezer is not defrosting, there are several primary signs you can look out for:
- Frost build-up on the inside walls of the freezer
- Water leakage from the freezer
- The freezer not maintaining a consistent temperature
A freezer’s defrost cycle operates in the following way:
The defrost cycle involves a series of steps to ensure that ice buildup on the freezer coils is melted away. First, the compressor is turned off, and a defrost heater turns on to warm up the coils. As the coils heat up, the ice melts and turns into water. This water then drains through a tube into a pan at the bottom of the freezer, where it evaporates.
When a freezer does not defrost properly, it can have consequences on food and efficiency:
Frozen food can suffer from freezer burn and spoilage due to the increased ice buildup. The freezer may require more energy to maintain a lower temperature, leading to higher energy bills. Additionally, if the defrost issue goes unresolved, it can potentially lead to more serious problems with the freezer’s functionality.
Inspecting The Defrost Timer
When your Whirlpool freezer is not defrosting, you may need to inspect the defrost timer. The defrost timer is responsible for regulating the defrost cycle in your freezer. To locate the defrost timer in your Whirlpool freezer, refer to the user manual or check the manufacturer’s website for specific instructions for your model.
To test the functionality of the defrost timer, follow these steps:
- Unplug the freezer to ensure your safety.
- Locate the defrost timer, usually found at the back of the freezer behind a cover.
- Using a flathead screwdriver or a similar tool, turn the timer clockwise until you hear a click. This should initiate the defrost cycle.
- Wait for approximately 30 minutes and check if the evaporator coils are heating up. If they are, it indicates that the defrost timer is working correctly.
- If the defrost timer does not advance or the coils do not heat up, it may be faulty and need to be replaced.
If you are unsure about inspecting or replacing the defrost timer, it is recommended to consult a professional technician for assistance.
Assessing The Defrost Heater
Assessing the defrost heater is crucial when dealing with a Whirlpool freezer that is not defrosting. The defrost heater, located within the freezer, plays a vital role in preventing the build-up of ice and frost on the evaporator coils. It is essential to identify the defrost heater correctly before proceeding with any checks.
To safely check for heater function and continuity, take necessary precautions such as unplugging the freezer and wearing protective gloves. Once you have access to the defrost heater, visually inspect it for any signs of damage or burning. Using a multimeter, set it to the ohms setting and test the heater for continuity. A reading indicating continuity implies the heater is functioning properly.
If the defrost heater fails the continuity test, it may need to be replaced. Remember to consult the user manual or reach out to a professional technician for guidance. Ensuring the proper functioning of the defrost heater is essential to prevent ice build-up and keep your Whirlpool freezer operating optimally.
Examining The Defrost Thermostat
When troubleshooting a Whirlpool freezer that is not defrosting, it is crucial to understand the role of the defrost thermostat. This small component plays a significant role in maintaining the proper temperature inside the freezer. To evaluate its performance, a few methods can be employed.
The defrost thermostat is responsible for monitoring the temperature of the evaporator coils. When the coils reach a certain temperature, the thermostat signals the defrost heater to turn on and melt any frost or ice that has accumulated. It acts as a safety device to prevent the evaporator coils from getting too cold and causing frost buildup.
| Method | Description |
|---|---|
| 1. Ohm Testing | Using a multimeter, measure the resistance of the defrost thermostat. If the reading is significantly different from the manufacturer’s specifications, it may indicate a faulty thermostat. |
| 2. Visual Inspection | Inspect the thermostat for any visible signs of damage, such as corrosion, burnt wires, or a bulbous appearance. These signs might indicate a malfunctioning thermostat. |
| 3. Temperature Testing | Place the thermostat in a freezer or ice bath and monitor its response to temperature changes. If it does not activate the defrost heater when the temperature is within the specified range, it might be defective. |
By thoroughly examining the defrost thermostat and using appropriate testing methods, it is possible to determine if it is the culprit behind the freezer not defrosting. This understanding will aid in effectively resolving the issue.
Resolving Timer Problems
If you’re experiencing issues with your Whirlpool freezer not defrosting, it could be due to problems with the defrost timer. The defrost timer regulates the defrost cycle of the freezer, ensuring that ice buildup is periodically melted away. If the timer is faulty, the freezer may not defrost properly, leading to cooling problems and frost buildup.
To resolve timer problems, it may be necessary to replace or repair the defrost timer. When setting up a new timer, make sure to carefully follow these tips:
- Locate the defrost timer in your freezer. It is usually located near the compressor or behind the toe grille.
- Consult your freezer’s manual or online resources to identify the correct replacement timer for your specific model.
- Disconnect the power supply to the freezer before starting any repair or replacement work.
- Remove the old defrost timer by unscrewing it from its location.
- Install the new timer by securely screwing it into place.
- Reconnect the power supply to the freezer.
- Test the new timer by monitoring the defrost cycle over the next few days to ensure proper functioning.
By following these steps and properly setting up the new timer, you can resolve timer-related issues with your Whirlpool freezer and ensure that it defrosts effectively.
Heater Replacement Process
Replacing the defrost heater in your Whirlpool freezer is a straightforward process that can be done following these simple steps:
- Turn off the freezer and unplug it from the power source to ensure safety.
- Locate the defrost heater, which is typically found behind the rear panel of the freezer.
- Remove the screws or clips securing the panel and carefully take it off.
- Disconnect the wires from the heater by gently pulling them apart.
- Remove the old heater by unscrewing it from its position.
- Take the new defrost heater and position it in place, securing it tightly with the screws.
- Reconnect the wires to the new heater.
- Replace the rear panel and secure it with screws or clips.
- Plug the freezer back in and turn it on to test the new defrost heater.
Ensure the safe installation of the new heater by carefully following these steps. Taking proper precautions and following manufacturer guidelines will help in maintaining your Whirlpool freezer’s performance.
Thermostat Troubleshooting Techniques
A common issue with Whirlpool freezers is when they stop defrosting. This problem can often be traced back to a faulty thermostat. The thermostat is responsible for regulating the temperature inside the freezer, including activating the defrost cycle. If the defrost thermostat is not working correctly, it can prevent the freezer from defrosting properly.
Knowing when to replace the defrost thermostat is crucial. If you notice that frost is building up on the evaporator coils or if the freezer is not cooling as it should, these may be signs of a faulty thermostat. A simple way to test it is to manually advance the defrost timer using a screwdriver while monitoring the freezer. If the defrost cycle kicks in and the frost melts away, it is likely that the thermostat needs to be replaced.
If you determine that a new thermostat is needed, follow these steps for installation:
| Step | Instructions |
|---|---|
| 1 | Unplug the freezer and locate the existing thermostat. |
| 2 | Remove any screws or brackets holding the old thermostat in place. |
| 3 | Disconnect the wires from the old thermostat. |
| 4 | Attach the wires to the new thermostat, matching the colors. |
| 5 | Secure the new thermostat in place with screws or brackets. |
| 6 | Plug the freezer back in and monitor it to ensure proper defrosting. |
By following these troubleshooting techniques and knowing when to replace the defrost thermostat, you can resolve the issue of your Whirlpool freezer not defrosting and ensure it is working efficiently once again.
Preventive Tips And Maintenance
Proper maintenance is key to preventing defrosting issues in your Whirlpool freezer. Regularly check and monitor the following to ensure optimal freezer performance:
- Temperature settings: Verify that your freezer is set to the recommended temperature, typically between 0°F and 5°F (-18°C to -15°C).
- Door seals: Inspect the door gasket for any signs of wear or damage. Clean the seals regularly and ensure they are properly sealed to prevent warm air from entering the freezer.
- Defrost cycle: Verify that the automatic defrost cycle is functioning correctly. If you notice excessive frost buildup or your freezer not defrosting, it may indicate a malfunction that requires professional assistance.
- Air circulation: Avoid over-packing the freezer, as it can restrict airflow. Proper air circulation helps maintain consistent temperatures and prevents frost buildup.
- Cleanliness: Regularly clean the interior, removing any spills or debris. Dirty or cluttered freezers can impact performance.
By following these preventive tips and performing routine maintenance, you can keep your Whirlpool freezer running smoothly and prevent defrosting issues.
Seeking Professional Help
When experiencing issues with your Whirlpool freezer not defrosting, it may be time to consider contacting a technician for assistance. While some minor problems can be resolved on your own, certain complex issues require the expertise of a professional.
When to call a technician for your Whirlpool freezer:
- If the freezer is not defrosting despite following troubleshooting steps.
- When there is a buildup of ice on the evaporator coils.
- If the freezer is not cooling properly or maintaining the desired temperature.
- When you notice unusual noises or strange odors coming from the appliance.
- If there are any electrical issues, such as frequent tripping of the circuit breaker.
What to expect during a professional freezer repair service:
A professional technician will thoroughly examine your Whirlpool freezer to identify the underlying cause of the defrosting issue. They will utilize their knowledge and specialized tools to diagnose and repair the problem efficiently and effectively. This can include tasks such as cleaning the coils, checking the defrost timer, replacing faulty components, or troubleshooting the electrical system. Once the repair is complete, they will ensure the freezer is functioning optimally and provide any necessary advice to prevent future problems.
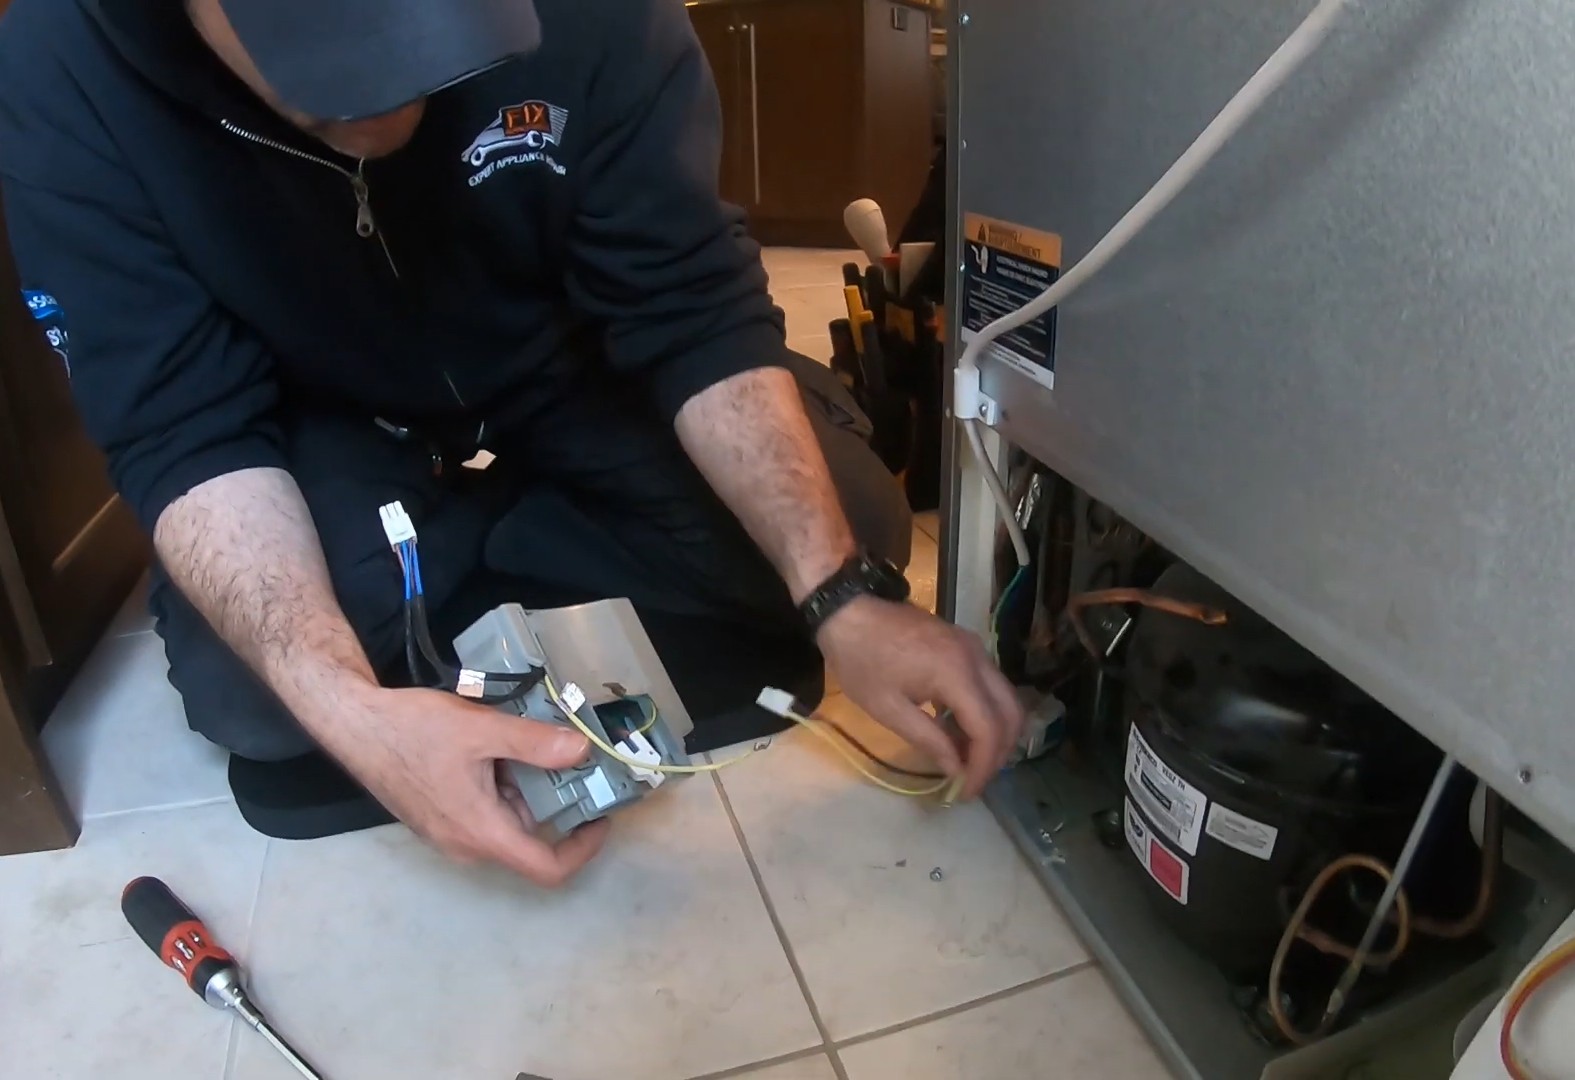
Credit: fixappliances.ca
Frequently Asked Questions Of Whirlpool Freezer Not Defrosting
Why Is My Whirlpool Freezer Not Defrosting?
There are several possible reasons why your Whirlpool freezer is not defrosting. It could be due to a faulty defrost timer, a malfunctioning defrost heater, or a problem with the defrost thermostat. It is important to check these components and replace any faulty parts to restore proper defrosting functionality to your freezer.
How Can I Manually Defrost My Whirlpool Freezer?
To manually defrost your Whirlpool freezer, start by unplugging the unit and removing all food items. Place towels or a large container to catch the melting ice. Leave the freezer door open and allow the ice to melt naturally. You can also use a hairdryer to speed up the process.
Once the ice is melted, wipe down the interior and plug the freezer back in.
Does A Clogged Defrost Drain Cause A Whirlpool Freezer Not To Defrost?
Yes, a clogged defrost drain can cause a Whirlpool freezer not to defrost. When the drain becomes blocked, water from the defrost cycle cannot properly drain away. This can lead to ice buildup, which hinders the freezer’s ability to defrost.
It is important to regularly check and clean the defrost drain to prevent this issue.
Conclusion
If your Whirlpool freezer is not defrosting, it could be due to a faulty defrost timer, a malfunctioning defrost heater, or a clogged defrost drain. By troubleshooting these common causes and taking the necessary steps to fix them, you can restore your freezer’s proper functioning and prevent any potential food spoilage.
Remember to consult a professional if you’re unsure or uncomfortable with performing these repairs yourself.