To remove a freezer door, first, carefully unplug the refrigerator from the power source.
Then, locate the hinges on the side of the door and lift it off the hinges by tilting it upwards.
Key Considerations For How to Remove Freezer Door
Before attempting to remove the freezer door, there are a few important things to consider:
- Preparation: Start by unplugging the freezer and emptying its contents. This will make it easier to work with and prevent any accidents.
- Tools required: Gather the necessary tools, including a screwdriver, wrench, and towel.
- Safety precautions: It is crucial to take safety precautions to avoid any injuries. Wear protective gloves and eyewear, and use caution when handling heavy parts.
Once you have prepared, follow these steps to remove the freezer door:
#1: Locate the hinges on both sides of the door.
#2: Using a screwdriver, carefully remove the screws holding the hinges in place.
#3: Gently lift the door upwards to disengage it from the hinges.
#4: Store the door in a safe place to prevent any damage.
Remember to consult the freezer’s user manual or seek professional assistance if you are unsure about any step during the process.

Removing Freezer Drawer Whirlpool, Samsung, Ge profile, Lg
Step #1: Emptying The Freezer
To remove the freezer door, you need to start by emptying the freezer and properly storing all perishable items. Remove all items from the freezer, checking for any expired or spoiled items that need to be discarded.
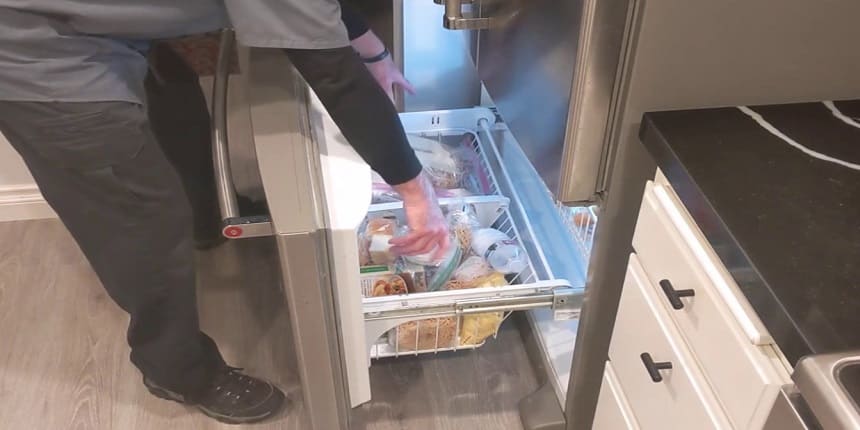
Take out any removable shelves or drawers from the freezer to make it easier to clean and access the door.
Once the freezer is empty, you can move on to the next steps in removing the door. Remember to unplug the freezer from the power source before proceeding to ensure safety.
Different freezers may have different mechanisms or techniques for removing the door, so it’s important to refer to the proper instructions.
Step #2: Disconnecting The Freezer
When removing a freezer door, it is important to start by disconnecting the freezer from the power source. This can be done by unplugging the freezer from the electrical outlet.
Additionally, if the freezer has a water supply, it is necessary to shut off the water before proceeding with removing the door.
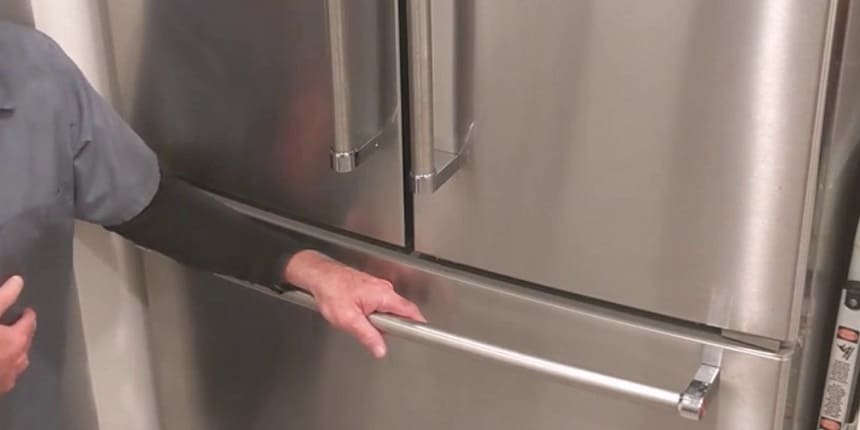
Step #3: Removing The Door Hinges
The first step in removing the freezer door is to identify the hinges and screws that hold it in place. Look for the small metal pieces attached to the sides of the door and the freezer.

These are the hinges that allow the door to swing open and close. You will also notice screws securing the hinges to the door and the freezer.
Once you have located the hinges and screws, you can now unscrew them to detach the door from the freezer. Use a screwdriver to carefully remove the screws one by one. Make sure to hold onto the door as you remove the screws to prevent it from falling off.
After all the screws are removed, you can now detach the door from the freezer. Gently lift the door straight up and away from the freezer. Be cautious while handling the door to avoid damaging it or surrounding surfaces.
With the door removed, you can now access the inside of the freezer for cleaning or maintenance purposes.
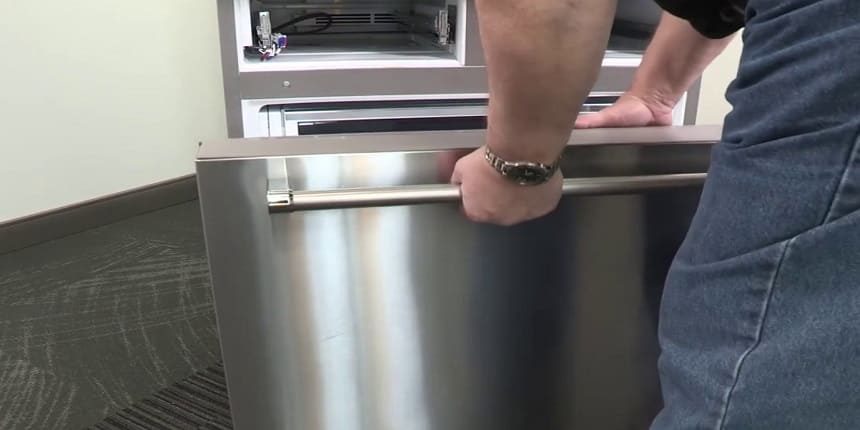
Step #4: Handling The Freezer Door
To remove the freezer door, it is important to support its weight properly to avoid any damage or mishandling.
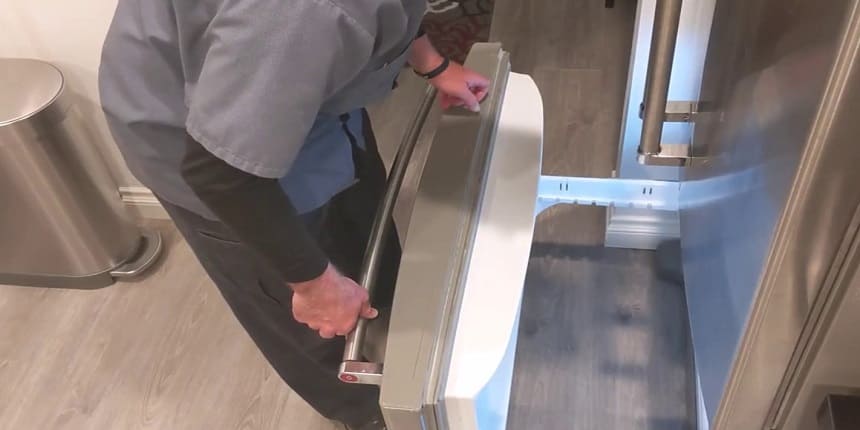
Enlisting the help of another person can make the task easier and safer. Begin by opening the freezer door completely and detaching any electrical connections or water lines if applicable.
Next, locate the hinges or brackets that secure the door to the freezer. Carefully remove any screws or bolts holding the door in place while ensuring to support its weight.
It may be necessary to hold the door from the top and bottom simultaneously to prevent it from falling. Once the door is detached, set it down gently on a padded surface to avoid scratching or damaging it.
Remember to keep the door in a safe and secure location while any repairs or cleaning are being performed. By following these steps, the freezer door can be successfully removed and handled with care.
Step #5: Cleaning And Maintenance Tips
To properly maintain your freezer door and ensure it operates smoothly, cleaning and regular maintenance are essential.
Start by cleaning the door and hinges regularly using a mild, non-abrasive cleaner. This will help remove any dirt or grime that may have accumulated over time. Be sure to dry the door thoroughly to prevent water spots or streaks.
Next, lubricate the hinges using a silicone-based lubricant. Apply a small amount to each hinge, taking care not to over-lubricate. This will help keep the hinges functioning properly and ensure smooth operation of the door.
Finally, periodically check the door and hinges for any signs of damage or wear. Look for cracks, dents, or loose parts, and address any issues promptly. This will help prevent further damage and extend the lifespan of your freezer door.
Step #6: Reattaching The Freezer Door
When it comes to reattaching the freezer door, there are a few important steps to follow. First, you need to align the hinges with the door.
This can be done by adjusting them until they are flush with the door frame. Once aligned, secure the hinges with screws to ensure they stay in place.
Then, it’s time to test the door’s functionality. Open and close the door to check if it moves smoothly and without any issues.
Properly reattaching the freezer door is crucial to ensure it functions properly. By aligning the hinges correctly, securing them tightly, and testing the door’s functionality, you can be confident that the door will operate smoothly. Following these steps will make removing and reattaching the freezer door a simple and hassle-free process.
Conclusion
To summarize, removing a freezer door is a simple process that can be done by following a few easy steps. By ensuring that you have the necessary tools and taking the proper precautions, you can successfully remove the door without causing any damage.
Remember to work carefully and methodically, and always consult the manufacturer’s instructions if you encounter any difficulties. With patience and a little effort, you’ll have your freezer door removed in no time.